Integrations and Advanced Options
Redirect After Submission
Ensuring a seamless and professional user journey after a form submission is vital for any online presence. The Redirect After Submission feature in Lumo allows you to automatically send users to a specific URL upon successful completion of your Lumo, providing a smooth transition from form filling to the next desired action.
This guide explains the benefits of this feature and how to set it up within your Lumo project.
Why Use a Post-Submission Redirect?
Instead of relying solely on the default "Success Page," a redirect opens up possibilities for enhanced user experience and powerful integrations:
- Seamless Funnels: Direct users immediately to the next step in your process, such as a thank-you page on your main website, a product download page, or a registration confirmation.
- Integrating Payment: It is particularly useful if your Lumo is used for an order or registration and you need to direct the user immediately to a payment page (e.g., PayPal, Stripe, or a dedicated checkout URL).
- External Tracking: Send users to a dedicated tracking URL to log conversions in external analytics platforms (e.g., Google Analytics, Facebook Pixel) with greater precision.
- Personalization: By including response parameters in the redirect URL, you can display personalized content on the destination page based on the specific submission.
- Professional Branding: Maintain a consistent brand experience by ensuring users land on your own domain after interacting with the Lumo.
How to Set Up Redirect After Submission
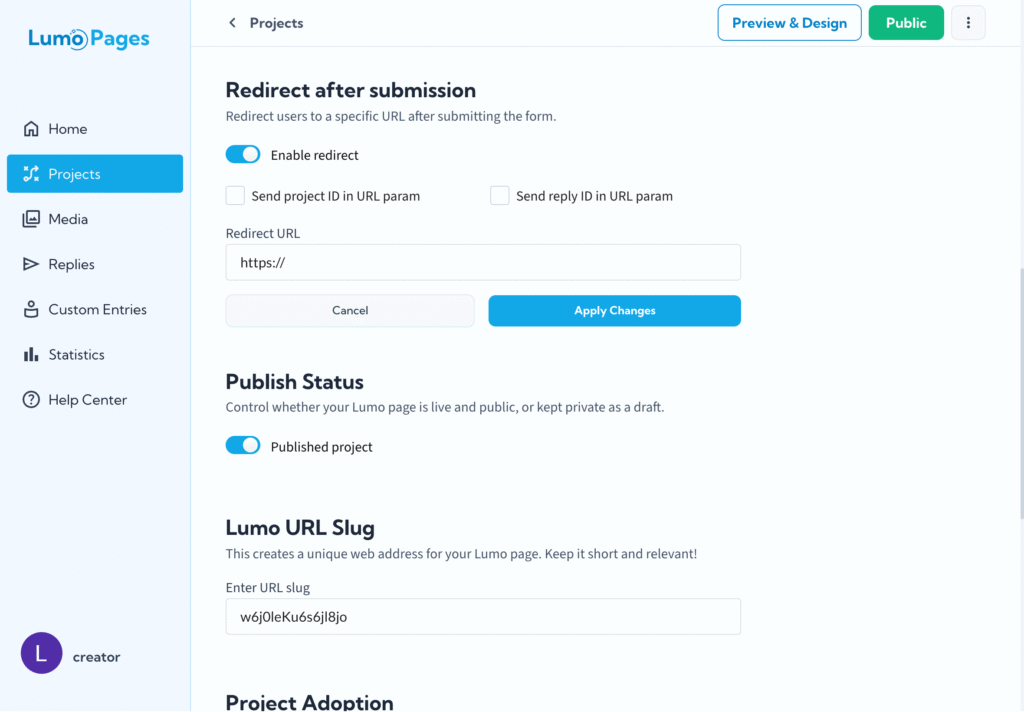
- Navigate to Project Settings: In the Lumo editor, go to the Project Settings section for the Lumo you wish to modify.
- Locate the Redirect Option: Find the setting labeled "Redirect after successful submission."
- Enter the Destination URL: Input the full URL (e.g., https://www.yourwebsite.com/thank-you) where you want the user to be sent.
- Select Parameters (Optional): You can check the boxes to automatically append the project ID and reply ID to the URL as query parameters.
If you also have a custom "Success Page" defined, the redirect will override it. The user will be taken to the specified URL instead of seeing the Lumo "Success Page."
Passing Response Data with URL Parameters
For more advanced use cases, such as connecting the Lumo submission with a payment system or another external platform, you can include dynamic data about the submission in the redirect URL.
How the Parameters Work:
When you check the options in the settings, the system will automatically append the parameters to your chosen URL using the format:
?reply_id={Reply ID}&project_id={Project ID}
- Example Resulting URL: If your base URL is https://www.yourwebsite.com/confirmation and the feature is enabled, the user will be redirected to: https://www.yourwebsite.com/confirmation?reply_id=12345&project_id=67890
Why is This Useful?
By automatically passing the reply_id and project_id, your external system (like a payment page) can:
- Lookup Submission Details: Use the unique IDs to retrieve the full submission content (e.g., the items ordered, the customer's name and email) from your Lumo account via a webhook or internal system. This links the payment transaction directly to the form data.
- Show Confirmation: Display a specific confirmation message or ticket number to the user that is linked back to their submission ID.
- Prevent Duplicate Actions: Use the ID to confirm that the specific submission has already been processed by your system.
By leveraging the Redirect After Submission feature and its dynamic parameters, you ensure a sophisticated user flow and empower your Lumo forms to become an even more integrated part of your overall digital strategy, from lead capture to payment processing.