Building Your Lumo
Adding Your First Block
Once you've created a project and added your first stage, it's time to populate it with content! Blocks are the fundamental building elements of your Lumo. They allow you to display information, collect user input, and design the look and feel of each stage.
This guide will walk you through the simple process of adding your very first block to a stage.
Step-by-Step: Adding Your First Block
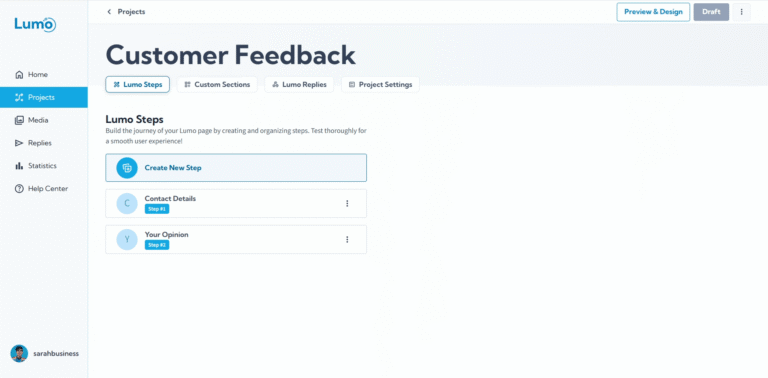
- Enter the Stage Editor: If you're not already there, navigate to your project from the "Projects" page. Then, click on the specific stage where you want to add blocks. This will open the stage editor.
- Locate the Stage Canvas: Within the stage editor, you'll see an area dedicated to adding new blocks. Simply drag from the Build Tools area the block you want to add.
Choose Your Block Type: Clicking the "Add Block" button will typically open a panel or pop-up displaying a variety of available block types. These are usually categorized for easier navigation (e.g., "Content Blocks," "Field Blocks").
- Content Blocks: Used for displaying static information (e.g., Rich Text, Image, Video, Button).
- Field Blocks: Used for collecting input from your users (e.g., Text, Rating, Dropdown).
Select and Add Your Block:
- Find the desired block type (e.g., "Text" under "Field Blocks").
- Click on it, or sometimes you can drag and drop it directly onto the stage.
- The selected block will then appear on your stage, ready for configuration.
Configure Your New Block: Once the block is on your stage, it's crucial to configure its specific settings. Each block type has its own set of options.
For a "Text" block, you'll typically configure:
- Field Label: What the user sees (e.g., "First Name").
- Placeholder Text: Example text inside the input box (e.g., "Enter your first name").
- Type: Specify if it's plain text, email, or number.
- Required: Mark if this field must be filled out before submission.
Pay close attention to the block's settings. Clear labels and appropriate types ensure you collect the correct information and make the form easy for your users to complete.
Automatic Saving
LumoPages understands that your time is valuable. As you add blocks and configure their settings, your progress is typically saved automatically in real-time. This means you don't have to constantly click a "Save" button, allowing you to focus purely on building your Lumo.
While LumoPages auto-saves, it's always a good practice to periodically check your work and ensure everything is as you intend, especially before navigating away from the editor for extended periods.
You've now successfully added and configured your very first block! This is a foundational step in building any Lumo. Next, we'll explore how to add more blocks and organize them effectively within your stages.