Building Your Lumo
Previewing Your Lumo
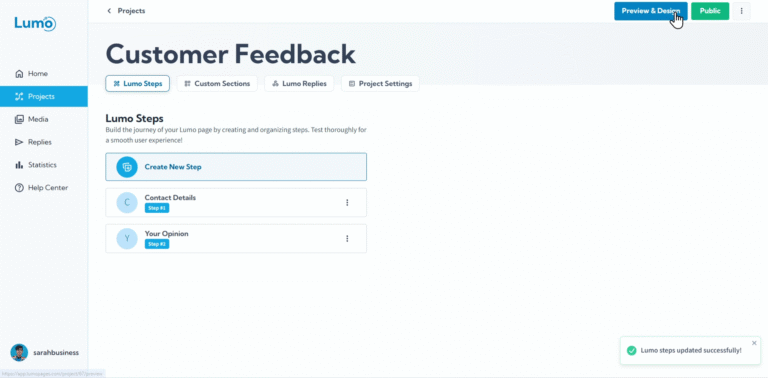
After putting in the effort to build your Lumo, adding stages and arranging blocks, you'll naturally want to see how it all looks to your customers! The Preview feature in LumoPages allows you to do just that: view your form exactly as your audience will, without having to publish it first. This is a crucial step for quality assurance and design adjustments before going live.
This guide will show you how to effectively use the Preview feature.
Why Preview Your Lumo?
Previewing is essential for several reasons:
- User Experience (UX) Check: See if the flow between stages is intuitive and easy to follow.
- Design Verification: Ensure all your design choices, colors, fonts, and image placements look correct and consistent.
- Functionality Test: Check if all your fields and buttons are appearing as expected and if required fields are properly marked.
- Catch Typos/Errors: Spot any last-minute mistakes in text or instructions.
- Responsiveness Check: Although we'll cover this in more detail later, a preview often allows you to quickly see how your Lumo adapts to different screen sizes.
Step-by-Step: Using the Preview Feature
- Be in the Project Editor: Make sure you're in the editor for the Lumo you want to preview. You should see your stages and blocks laid out.
- Locate the "Preview" Button: In the LumoPages editor, you'll typically find a "Preview" button. This is located in the top right corner of the editor interface.
- Click to Open Preview: Click the "Preview" button. This will open your Lumo in preview dashboard, displaying it exactly as a user would see it.
Navigate Through Your Lumo: In the preview window, interact with your Lumo as if you were a customer.
- Click "Next" to move between stages.
- Test filling out fields (though data won't be saved in preview mode).
- Click on buttons to test their links (they might open in a new tab if configured).
While in preview mode, you can often resize your browser window to simulate how your Lumo might look on different screen sizes (like a tablet or mobile phone). This is a quick way to check its responsiveness.
- Exit Preview: To return to the editor and make changes, simply close the preview browser tab or window. Your editor will remain open where you left off.
Making Adjustments After Preview
The preview is your testing ground. After reviewing, you might notice things you want to change:
- Perhaps a field label isn't clear enough.
- Maybe a certain image looks too large on a small screen.
- Or the flow between stages feels a bit clunky.
Simply close the preview, return to the editor, make your adjustments, and then preview again until you're satisfied.
By thoroughly previewing your Lumo, you ensure a polished, professional, and user-friendly experience for everyone who interacts with your digital forms. It's an indispensable step before you consider sharing or publishing your masterpiece!