Designing Your Lumo
Applying and Managing Templates
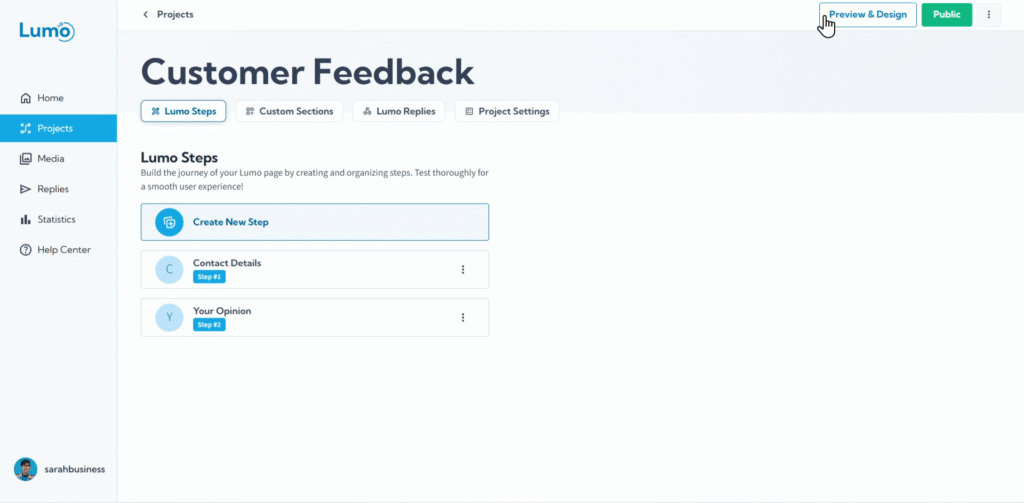
At LumoPages, we've separated the logic of form creation and its settings from the design. This allows for flexible design that isn't dependent on content, and it automatically updates with new content. This ensures a smooth and consistent user experience in terms of both appearance and functionality. A well-designed Lumo not only functions perfectly but also looks great. LumoPages helps you achieve a stunning aesthetic with ease through its Template system. Templates provide pre-designed layouts, color schemes, and font pairings that you can apply with a single click, giving your forms an instant professional makeover.
This guide will show you how to apply existing templates, how to save your custom designs as personal templates, and how to manage them.
What are Templates?
A Template is a pre-built design blueprint for your Lumo. It includes:
- Layout: The general arrangement of elements.
- Color Schemes: Coordinated sets of colors for backgrounds, text, buttons, and fields.
- Font Pairings: Harmonious combinations of fonts.
- Basic Styling: Pre-set styles for borders, shadows, and other visual effects.
Templates are a fantastic starting point, saving you time and ensuring your Lumo looks polished without needing extensive design expertise.
Step-by-Step: Applying a New Template
Select and Apply a Template:
- Click on a template thumbnail to preview it or select it.
- Confirm that you want to "Apply Template" if prompted. The design of your Lumo will instantly transform to reflect the chosen template.
Don't be afraid to experiment! You can switch templates at any time, even after applying one. Until you actively save the changes no change will apply.
Applying a new template will override the current design settings.
New global templates may be added, and current global templates changed, it will not effect previous Lumos using previous versions of the same template.
Managing Your Personal Templates
After applying a template, you'll often want to make slight adjustments to perfectly match your brand. LumoPages allows you to save these customized designs as your own personal templates, so you can reuse them across multiple projects.
1. Saving a Custom Design as a Personal Template
- Customize Your Lumo: After applying a template, make your desired changes using the design customization options (e.g., changing a specific color, font, or button style).
- Locate "Save as New Template": In the "Design" settings, after making changes, look for an option like "Save as New Template".
- Name Your Personal Template: Give your custom template a clear and recognizable name.
- Confirm Save: Click "Save." Your custom design will now appear in your Template Gallery under a "My Templates" or "Personal" section.
2. Updating an Existing Personal Template
If you've made further design tweaks to a Lumo that uses one of your personal templates and you want those changes to be part of the template for future use:
- Make Changes: Modify the Lumo's design as desired.
- Locate "Update Template": In the "Design Preview" settings, select your existing personal template from the gallery. You'll then see an option like "Update Current Template".
3. Deleting a Personal Template
If you no longer need a personal template:
- Select the Personal Template: In your Template Gallery, navigate to "Your Saved Templates" area and select the template you wish to delete.
- Locate "Delete Template": Click on the template's menu and select "Delete Template".
Saving Your Lumo's Design Changes
Whether you apply a new template, customize an existing one, or save a new personal template, always remember to manually save your Lumo by clicking the prominent "Update Project" button in your editor.
Templates provide a powerful foundation for your Lumo's design, and personal templates allow you to maintain consistent branding effortlessly across all your digital forms. Experiment with these features to create visually stunning and cohesive Lumos!